Simple steps to use rattan webbing roll for DIY furniture upgrades
- Thứ hai - 07/04/2025 09:28
- In ra
- Đóng cửa sổ này
Are you looking to upgrade your old furniture or add a unique touch to your home décor? Learning how to use rattan webbing rolls is an innovative and trendy way to bring natural beauty into your living space. With its rustic charm, eco-friendliness, and ease of use, rattan webbing rolls are becoming a favorite DIY material for home décor enthusiasts.
In this article, we’ll walk you through simple, actionable steps to use rattan webbing roll in your DIY furniture projects. Whether you’re a beginner or an experienced crafter, this guide has everything you need to refresh your interiors creatively and cost-effectively.
In this article, we’ll walk you through simple, actionable steps to use rattan webbing roll in your DIY furniture projects. Whether you’re a beginner or an experienced crafter, this guide has everything you need to refresh your interiors creatively and cost-effectively.
Simple steps to use a rattan webbing roll in DIY furniture projects
Step 1: Choose the right rattan webbing
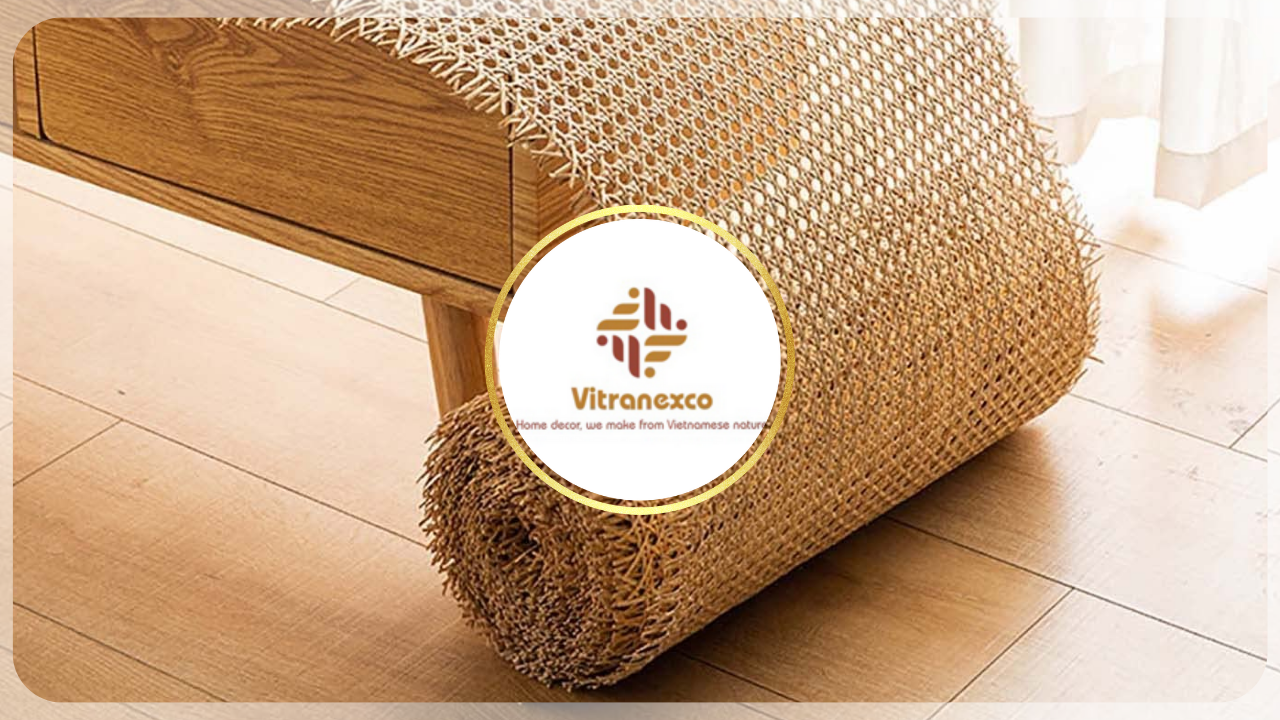
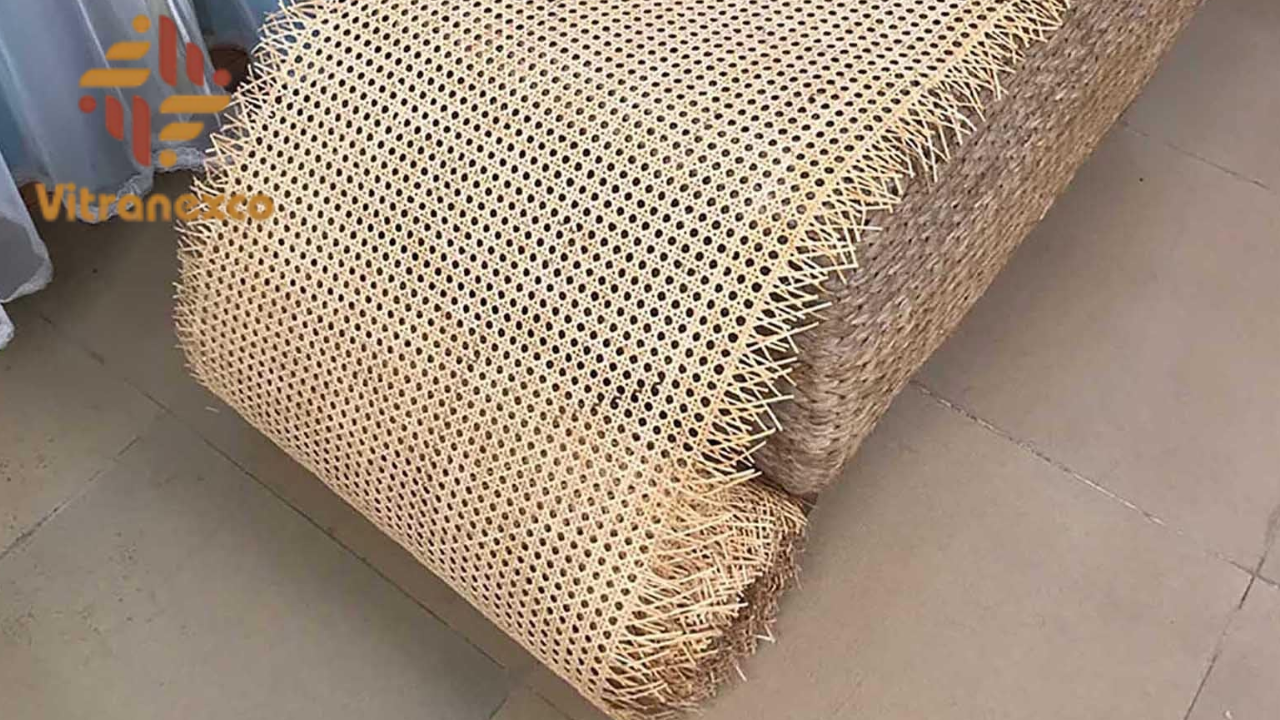
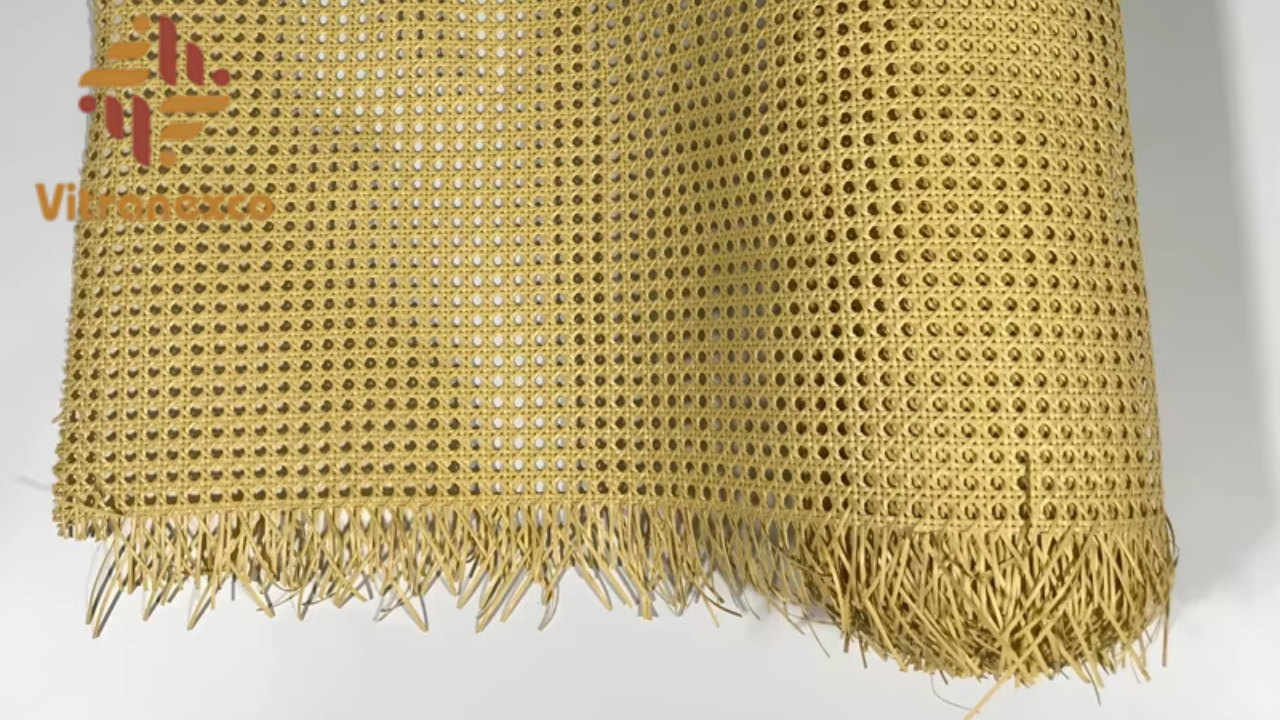
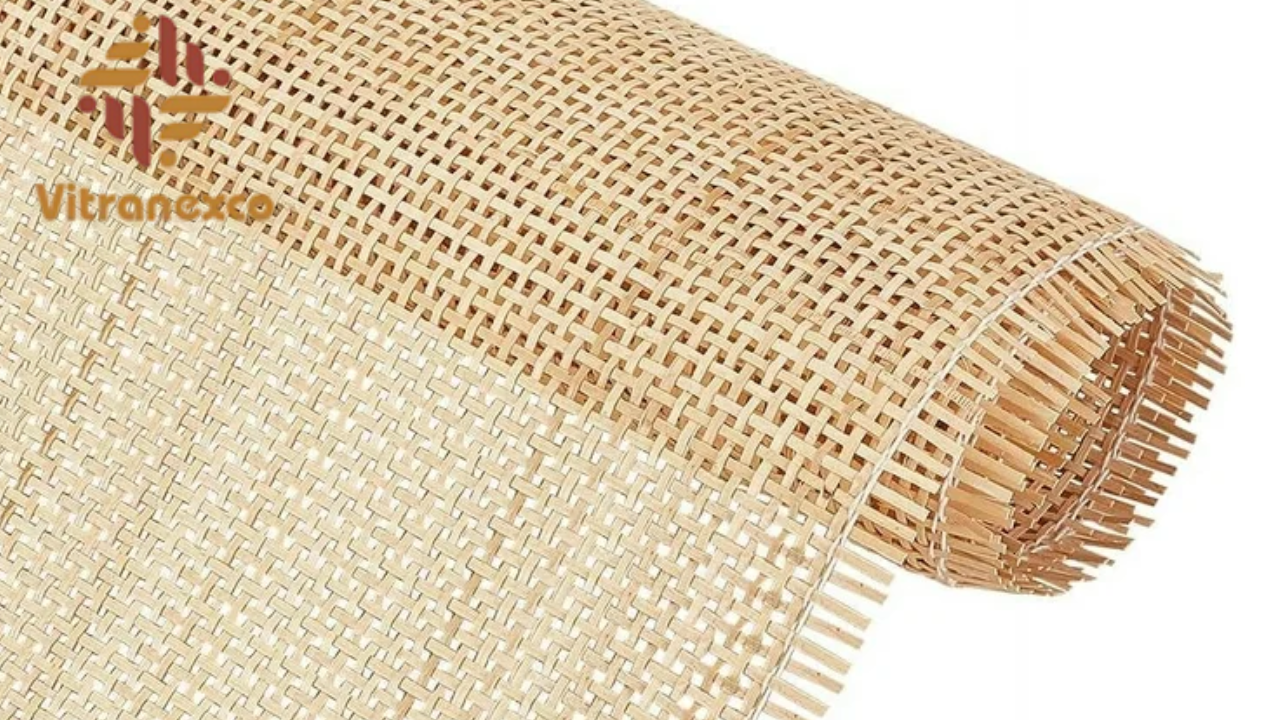
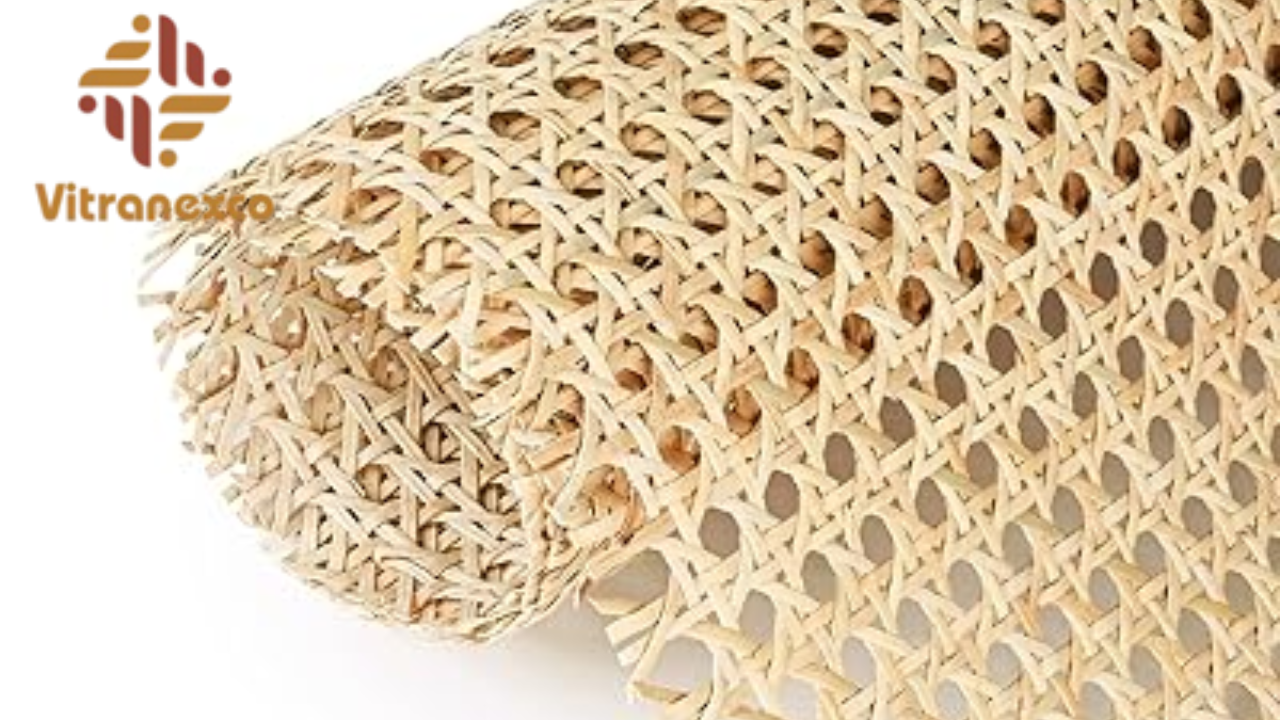
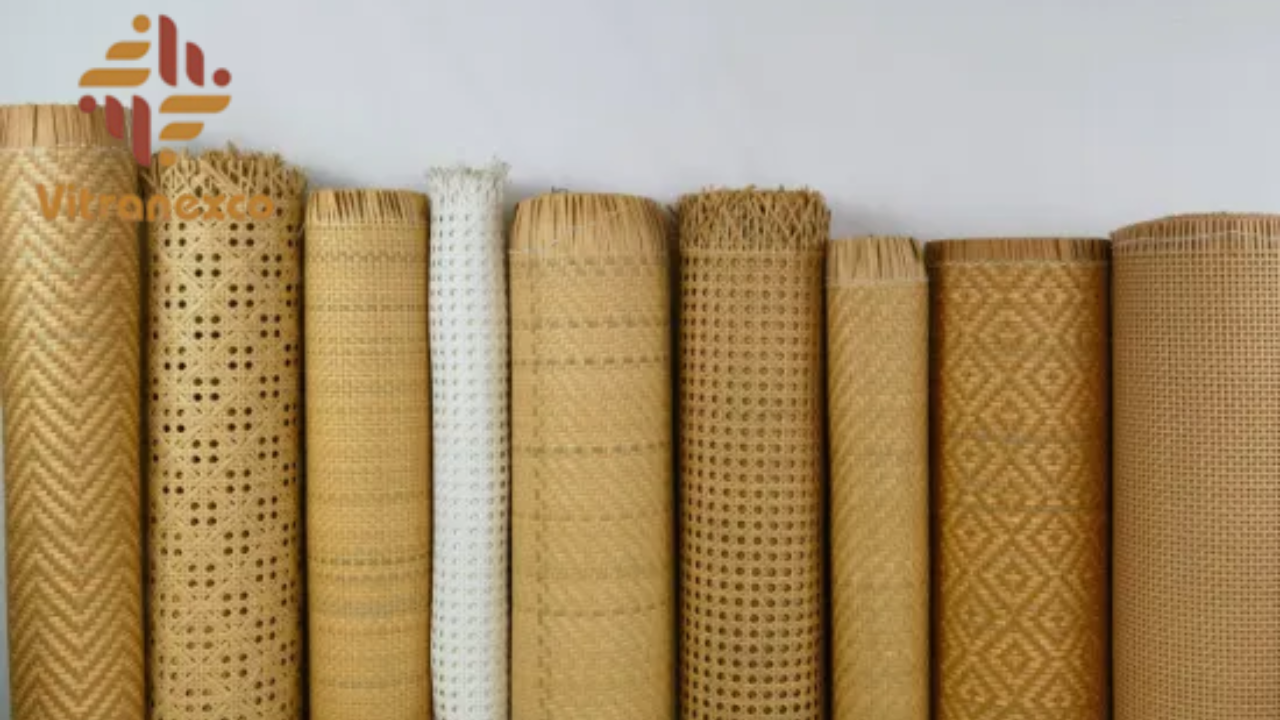
The first step to successfully using rattan webbing roll in any DIY furniture project is selecting the appropriate type of webbing for your needs. Rattan webbing rolls come in different patterns, each offering a distinct look. If you want to achieve a retro or vintage look, the cane webbing hexagon is the way to go. This pattern is often seen in mid-century modern furniture and adds a nostalgic touch to contemporary pieces.For larger furniture like cabinets or tables, a 60cm wide webbing roll provides ample coverage and flexibility for larger surfaces. Alternatively, if you want a more structured and modern aesthetic, square mesh cane webbing offers clean lines that pair well with minimalist or industrial décor.
Selecting the right size is equally important. You want to ensure that the roll is wide enough to cover your project’s surface, leaving enough material to work with for stapling or gluing.
Step 2: Gather your tools and supplies
Before diving into your project, make sure you have all the necessary tools and supplies to use the rattan webbing roll effectively. Here’s a list of essentials:- A rattan webbing roll of your choice
- Scissors or a utility knife for cutting the webbing to the correct size
- Upholstery stapler or cane glue to securely attach the webbing to your furniture
- Measuring tape and pencil to ensure accuracy when cutting and positioning
- Wood frame or furniture to apply the webbing to (e.g., chairs, cabinets, etc.)
- Sandpaper for finishing and smoothing rough edges
If you’re new to working with rattan webbing, you may also want to watch a few tutorial videos or read additional guides on using rattan webbing rolls for furniture projects. Familiarizing yourself with the tools and process will help make the project smoother and more enjoyable.
Step 3: Design your DIY rattan project
When you’re ready to use a rattan webbing roll, it’s time to plan your project. Start small if you’re a beginner—perhaps refurbishing the back of a chair or updating the front of a cabinet with a rattan insert. These types of projects are straightforward and allow you to experiment with different patterns and finishes.You can get creative by combining rattan webbing with other materials, such as natural wood, metal frames, or even painted finishes. For example, adding a rattan back to a wooden chair will give it a mid-century modern vibe, while pairing it with whitewashed wood creates a breezy coastal feel. Mixing rattan webbing with bold colors or metal hardware can create a striking contrast and add contemporary flair to your design.
Step 4: Attach and finish the rattan webbing
Now comes the fun part: applying the rattan webbing roll to your furniture. Start by measuring the area where you want to apply the webbing and cutting the roll to fit. You may need to soak natural rattan webbing in warm water for 15–30 minutes to make it more flexible and easier to work with.Once you have the perfect size, use an upholstery stapler or cane glue to secure the webbing to the frame of your furniture. Be sure to staple or glue along the edges to avoid loose ends and ensure a tight, smooth finish. Trim any excess webbing, then sand the edges for a professional, clean finish. Optionally, apply a clear coat or wood stain to seal and protect the webbing, ensuring its longevity.
Conclusion
Knowing how to use a rattan webbing roll opens the door to endless creativity and sustainable style.With just a roll of cane and a few simple tools, you can transform ordinary furniture or home décor into unique, handcrafted pieces that reflect your style. Whether you’re looking to create a modern makeover or infuse vintage charm into your space, rattan webbing offers versatile design options that suit a variety of aesthetics.
Start with a small project, such as a cabinet door insert, a chair seat, or a decorative accent, and enjoy the process of bringing new life to your surroundings. As you get more comfortable with the technique, you can tackle larger projects and explore new ways to incorporate rattan into your home.
Soon, you’ll find yourself weaving warmth, texture, and style into every corner of your living space. Not only will your home feel more inviting, but you’ll also be embracing a sustainable, eco-friendly approach to design that makes a positive impact on both your environment and your style.
=> LEARN MORE: How to make rattan furniture from natural materials
CONTACT
VITRANEXCO LIMITED COMPANY - The leading supplier of raw materials: rattan, bamboo,... in Vietnam
- Website: https://vitranexco.com/
- Facebook: https://www.facebook.com/
- Instagram: https://www.instagram.com/vitranexcolimitedcompany/
- Alibaba: https://vitranexco.trustpass.alibaba.com/